In this article down the page you can locate some first-rate additional info involving Quick Fix: How to Fix a Leaky Faucet.
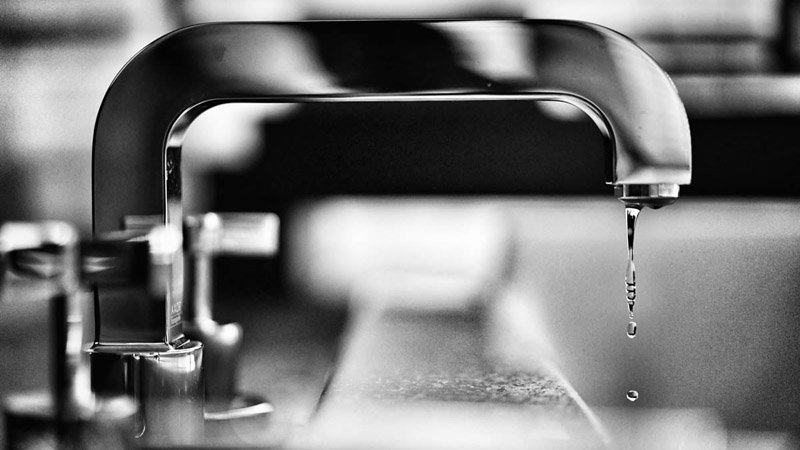
Is your faucet dripping or leaking? The bothersome audio might drive you as well as everybody in your home crazy. It is bothersome, especially when your house is quiet and also every person's all set for bed. Drip, drip, drip! The noise can bother anybody's nerves. You don't have to endure the annoying audio. It's extremely easy to fix a leaking faucet by following this mini-guide.
Prep Your Devices for Taking care of
You might currently have the tools tucked away in your tool kit if you're a handyman. Ought to you miss out on some devices, you can readily get these in any equipment store. You will certainly require the following:
Turn Off Your Water
Before you try to fix your leaking tap, you must shut off that supply of water that feeds it fresh water. Should you neglect to do this, you will encounter a huge mess, deal with water damages, as well as cleaning. There's no requirement to touch the mainline so that other individuals can use the water in various other parts of that home. You can typically find the neighborhood valve in a neighboring cupboard or under the sink. Typically, there are two shutoffs, one for the cold as well as the other for the hot water supply. Transform them both off by turning the handle counterclockwise. Ascertain that water is cut by activating the tap.
Take Out the Handle Knob
As soon as all the water is cut, you can wage getting rid of the ornamental cap off the manage knob using your Contact Us flat head screwdriver. As soon as the cap is off, you will see a little screw that safeguards the handle to the stem of the faucet. Eliminate this screw with your Phillip's screwdriver so you can pry the deal with from the stem.
Get Rid Of the Tap Stem
Get your adjustable C-wrench for loosening up the packaging nut. This will expose the stem. Relying on your faucet configuration, the stem will quickly bulge, or you will certainly need to twist it off the valve. As soon as the stem is removed, inspect the components for damage.
Replace the Rubber Rings
From there, you have to change the washing machine, which is generally located in the base of the stem within the shutoff seat. It would be best to replace both to guarantee that the dripping stops. Or else, you will certainly still listen to the drips.
Return the Faucet in Place
Once you've replaced the washer and O-ring, you must reassemble the tap by adhering to the reverse order of elimination. Stand up to need to over-tighten anything so as not to strip the threads. When it's back in place, test it out by transforming on the water supply as well as faucet. If it still leaks, you can have a larger trouble like valve rust, broken, plumbing, or torn seals. In this instance, calling a specialist plumber to do even more complicated repair work remains in order.
Is your tap leaking or trickling? Drip, drip, drip! Prior to you try to repair your leaking faucet, you need to turn off that water supply that feeds it fresh water. It would be best to change both to make sure that the dripping quits. Or else, you will still listen to the drips.
How to Fix a Leaky Faucet
Determine How to Fix a Leaky Faucet…
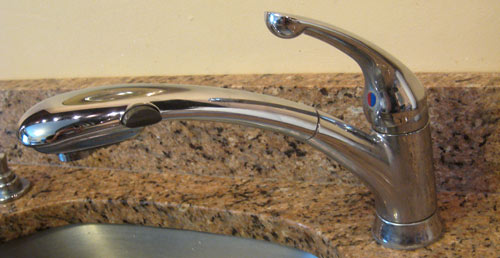
The first step is to identify the type of faucet you have. In this case, I’m repairing a bathroom sink two-handle center-set faucet.
Then you’ll need to determine the area of the faucet that is leaking.
Is the leak coming from under the Delta bathroom faucet handle or is the leak coming from the aerator?
I knew the leak was coming from the aerator because I saw it first thing in the morning when I shuffled into the bathroom to begin my day. The pop-up stopper was always wet which indicated a persistent drip.
Turn the hot water shutoff valve under the sink to the off position (completely to the right). Check to see if the leak is still there. If the leak is gone you know the hot water side of the faucet is the culprit.
If the drip persists then you know the cold water side of the faucet is to blame.
You can also follow this flow chart to figure out HOW to fix the Delta bathroom faucet leak.
https://homerepairtutor.com/how-to-fix-a-leaky-faucet-delta/
We were made aware of that write-up on Quick Fix: How to Fix a Leaky Faucet from an associate on a different blog. So long as you liked our post if you please make sure you remember to share it. Thank you for going through it.